Step-By-Step Guide to make a super simple, beautiful DIY balloon garland at home.
How To Make A Super Easy Balloon Garland For Your Next Party
Materials Needed:
Balloons in various sizes (5″, 11″, 16″, and 24″)
Electric balloon pump
80 lbs monofilament fishing line
Scissors
Low-temperature glue gun (optional, for precision placement)
Command hooks, 3M strips, or other mounting hardware (to hang the garland)
Step-by-Step Instructions:
Step 1: Select Your Color Palette
Choose 2–4 complementary colors. Mixing shades or adding metallics works beautifully for depth.
Step 2: Inflate Balloons
Use the electric pump to inflate balloons to varying sizes:
Some balloons should remain at their full size.
Others should be under-inflated for a more organic, textured look.
Pair the balloons into duplets by tying the necks of two balloons together.
Step 3: Build Quads
Combine sets of two balloons (duplets) into clusters of 4–5 balloons (called quads):
Twist the necks of two duplets together to create a quad.
Add another balloon (or two) by twisting their necks into the cluster.
Aim for a mix of balloon sizes in each cluster for a more natural, asymmetrical appearance.
Step 4: String the Balloons with Fishing Line
Cut a length of monofilament fishing line (leave extra for hanging later).
Secure the starting end of the line to a stable object or tie a large knot to anchor the first cluster.
Place the first balloon cluster against the fishing line.
Wrap the fishing line once around the center of the cluster (between the necks) to hold it in place.
Add the next cluster by positioning it snugly against the first and wrapping the fishing line once around its center.
Continue adding clusters:
Alternate sizes and colors for a balanced and organic look.
Pull the fishing line taut but not so tight that it distorts the balloons.
Step 5: Fill in Gaps
Use smaller balloons (5″) to fill gaps between clusters:
Tie or use rubber bands to attach them to existing balloons for a polished look.
Step 6: Hang Your Garland
Attach Command hooks or other mounting hardware to the desired location.
Use the excess fishing line at each end of the garland to tie and secure it to the hooks.
Step 7: Final Adjustments
Step back and check for balance and fullness.
Rotate or add balloons as needed to refine the look.
Pro Tips:
Add greenery, florals, or metallic accents to elevate the design.
For longer garlands, work in sections to make handling easier.
Keep balloons out of direct sunlight if used outdoors to prevent popping.
Always under-inflate your balloons to allow for expansion in the sunlight.
Use brands like Sempertex & Tuftex. Using a better quality balloon will prevent popping,.
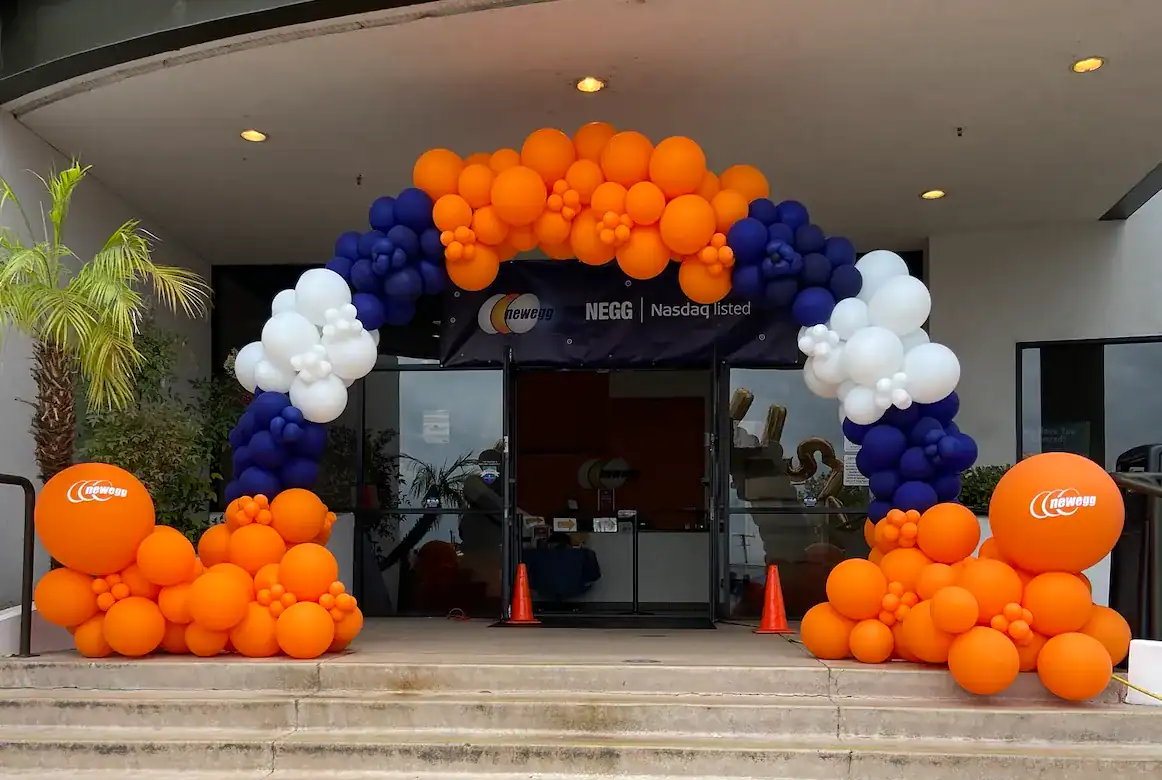
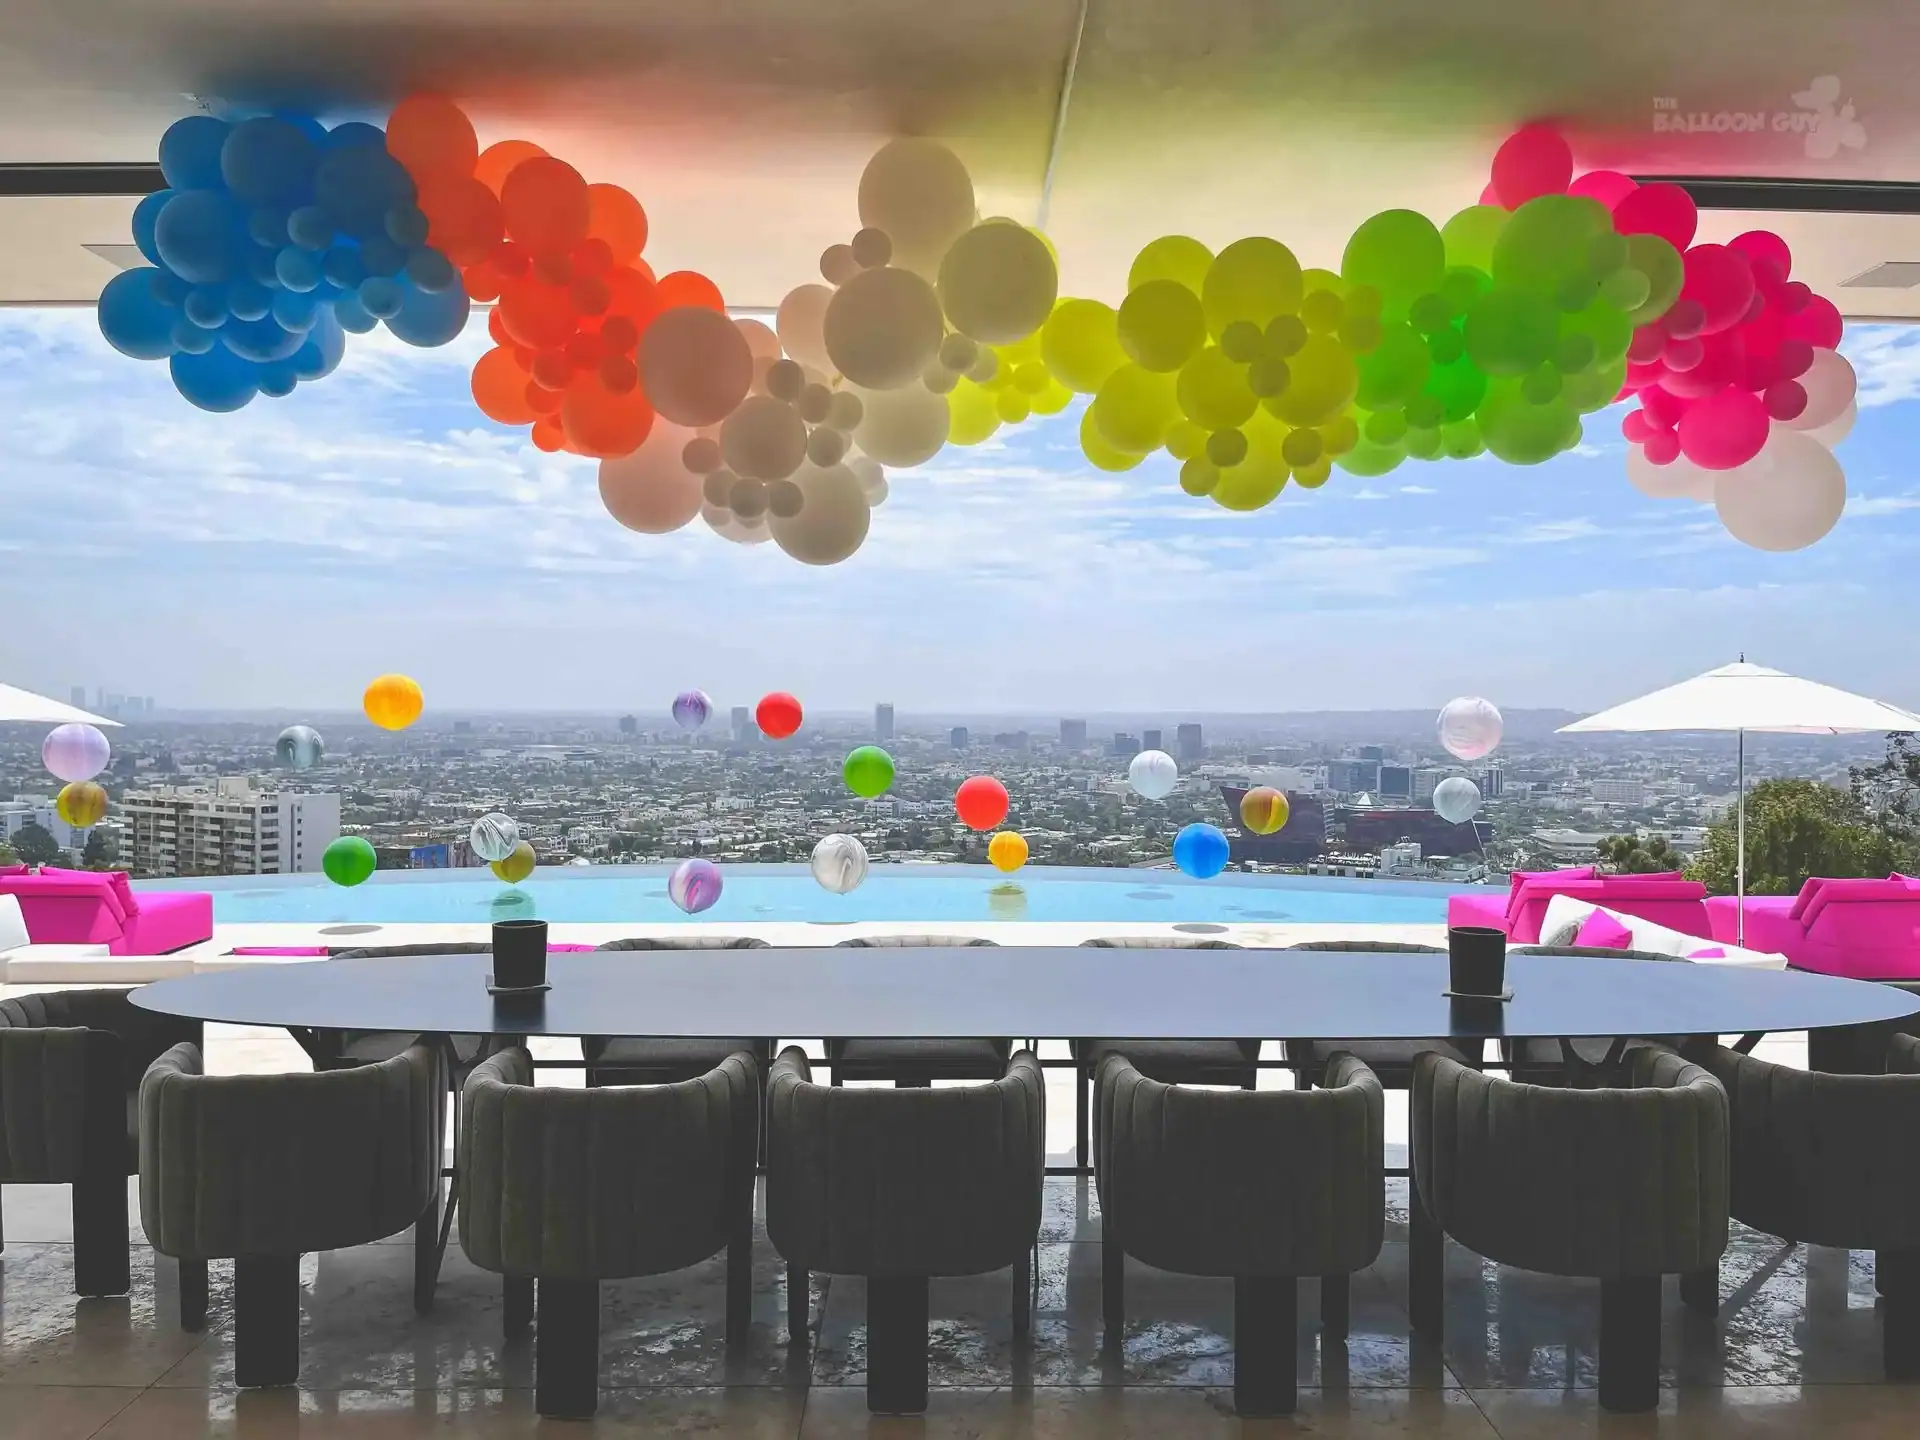
With this method, you’ll create a lightweight and visually stunning organic balloon garland for your next party or event!
Outro Banner
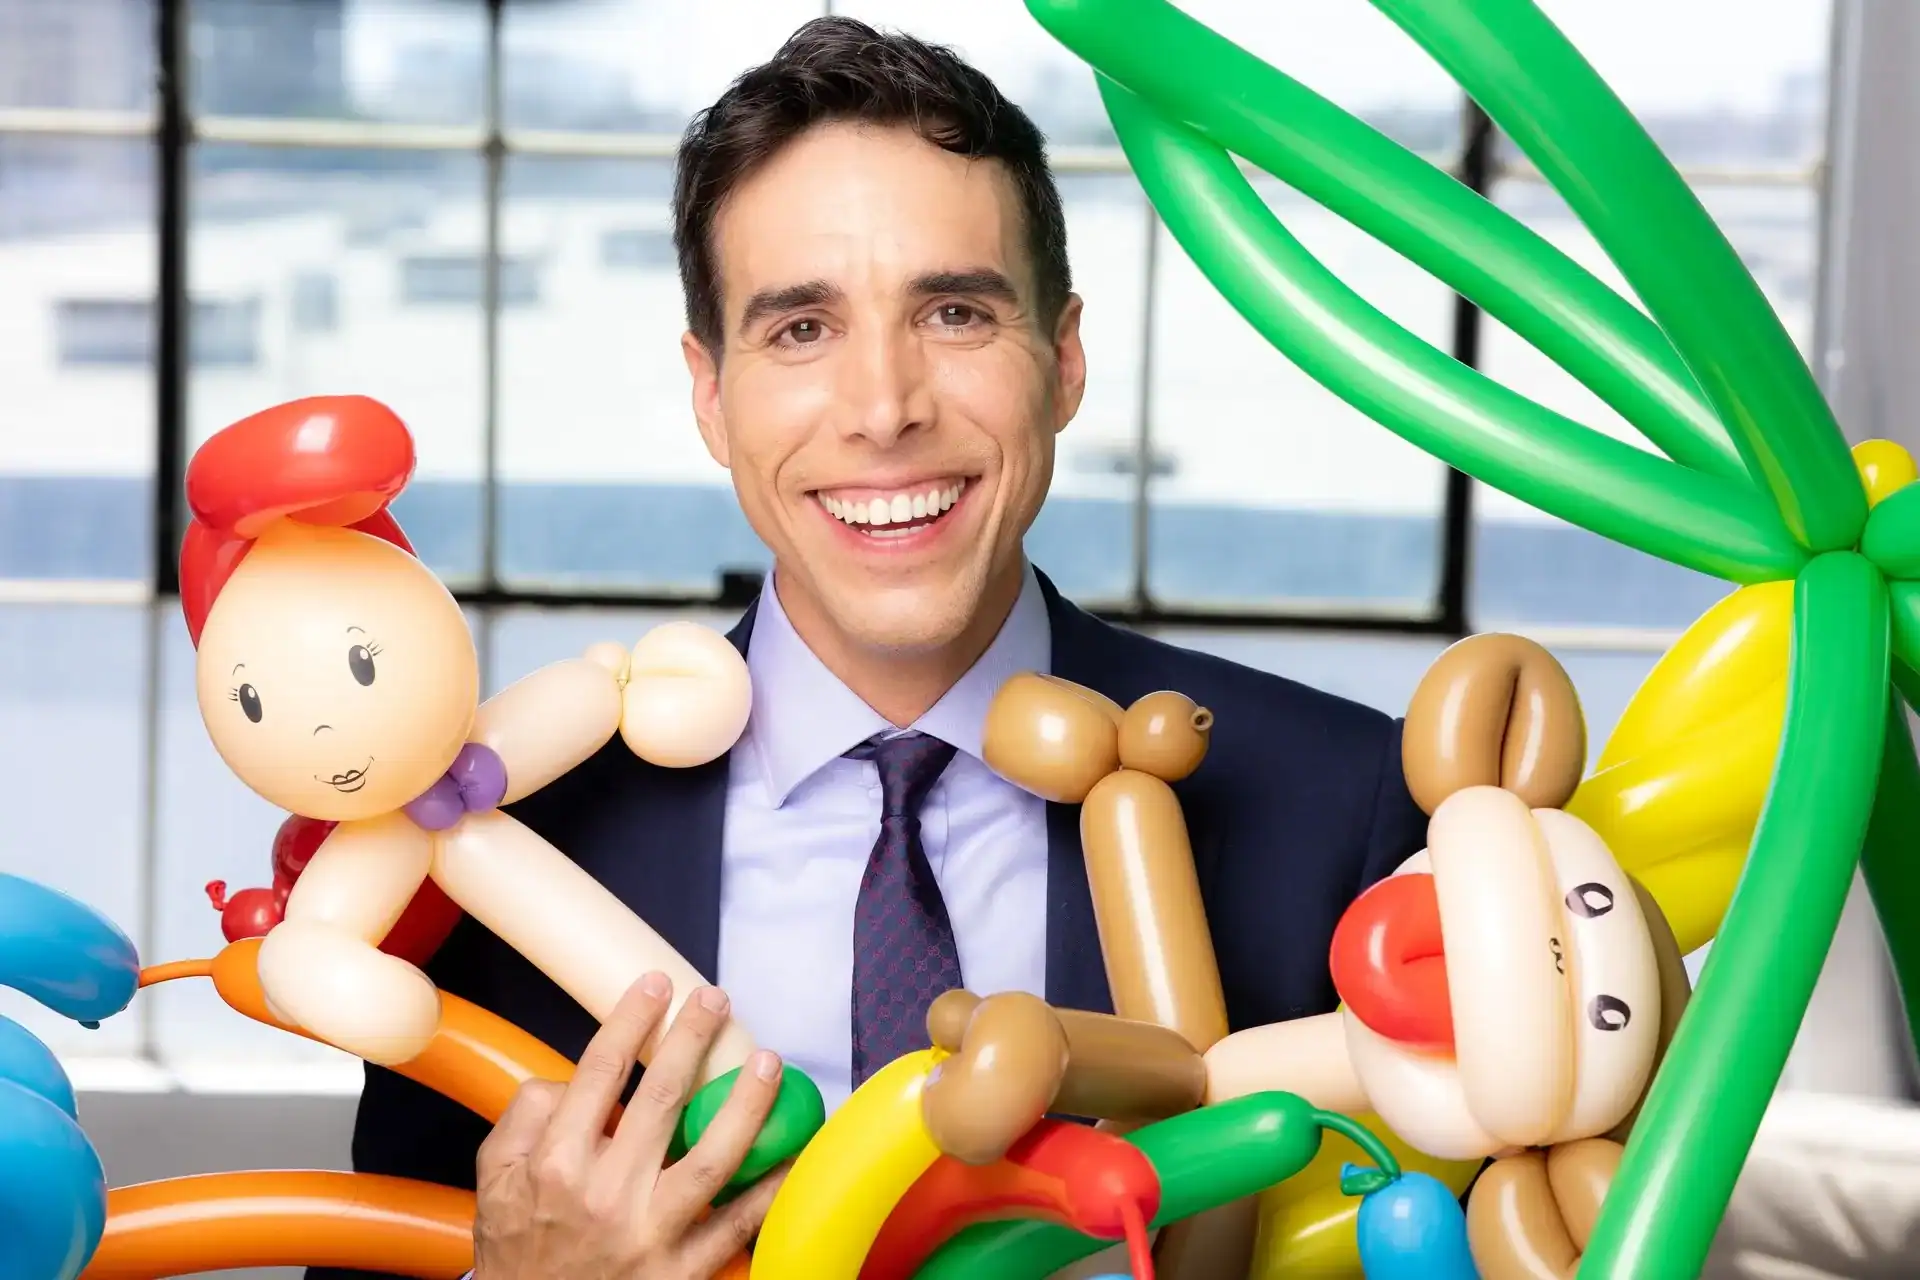
Meet Sean Edwards
Founder and expert balloon decorator behind The Balloon Guy in Los Angeles.
Known for creative and premium balloon designs that elevate every event
experience.
The Balloon Guy designs luxury balloon installations and experiential event designs for brands, corporate events, and private celebrations. Our custom balloon décor transforms spaces and creates unforgettable guest experiences across Los Angeles.